The Bumper Painting Process
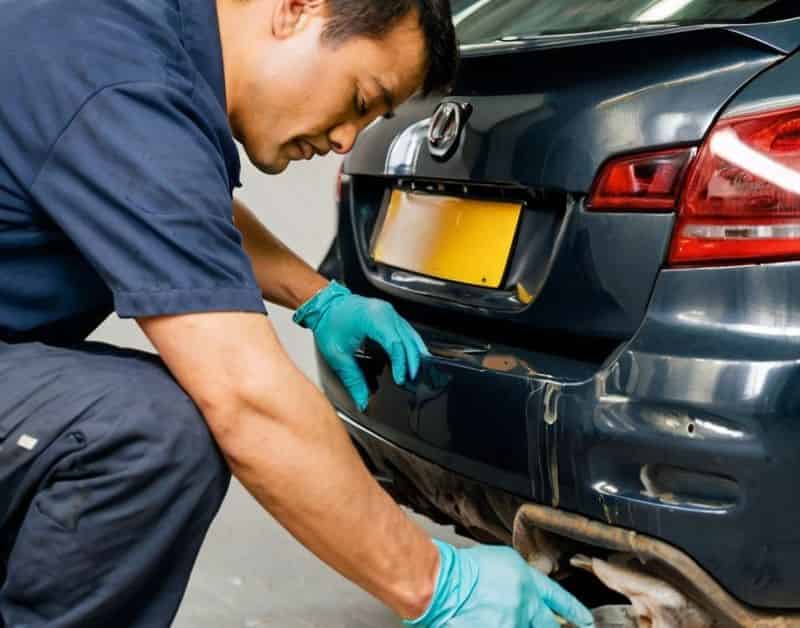
The bumper is one of the most frequently damaged parts of a car, since in all kinds of collisions and accidents it takes the lion’s share of the impact. Afterwards the owner faces the question of repairing the damaged bumper. Priming the bumper is one of the last stages of the repair process.
During the repair, the car owner will inevitably go through the following six stages:
1) Cleaning
2) Sanding the old coating
3) Filling
4) Priming and drying
5) Sanding the bumper primer
6) Painting
The preparation stage
First, find out what type of plastic the bumper is made of and what its structure is. To get this information, check the stamp on the back of the part. This step matters when choosing the material for repairing any cracks. Next, the surface that is going to be repainted must be cleaned of dirt, grease and tar. Water, detergents and solvent are used for this.
The sanding and filling stages
To get by with a minimum of filler, the surface has to be sanded very well, with all sharp corners, bumps and ridges removed. A sander and coarse sandpaper (P120) are used at this stage. The prepared bumper surface is then filled. The quality of the paint job depends directly on how well this stage is done. A special fibreglass-reinforced filler is used. Once it has hardened, the surface is sanded again, a finishing filler is applied, and it is then worked with P180 sandpaper.
The final stages of the repair.
Priming the bumper deserves a closer look, because this operation largely determines the quality of the paint job. Plastics are fairly dense and have no pores, which makes it hard for paint to adhere to the plastic surface of the bumper. Priming is designed to solve exactly this problem.
The surface must first be degreased with solvent. For the sake of your own health, wear a protective mask while working. Specialists recommend a two-component acrylic primer, applied first as one continuous coat over the entire surface of the part being repaired. Then all the defective areas are primed again. Apply the primer sparingly, onto the previous coat once it has dried, because too much primer can run and leave drips. The last coat is also applied over the whole part, after which the bumper is dried. With an infrared heater, drying takes 2-3 hours; without one you will have to wait about a day.
Once the primer is completely dry, the part is sanded with P320-P400 sandpaper. Two more coats of acrylic primer are then applied, left to dry, and the surface is finished with P400-P500 sandpaper.
When all the stages described above are complete, degrease the surface with solvent and proceed with painting. The paint is applied in two or three coats, with about ten minutes between coats for drying. After painting, a layer of clear coat is applied, and the bumper is ready for use.