How a Full Car Respray Is Done
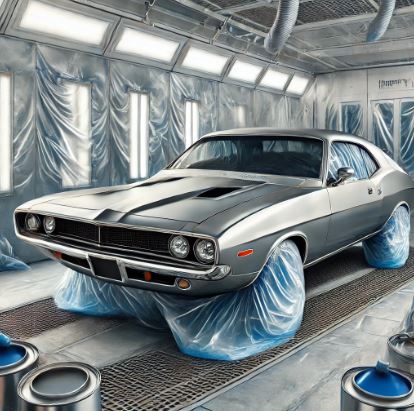
A full respray is a demanding process that requires experience, meticulous preparation and specialised equipment and materials. Here is the general step-by-step plan for a full car respray:
- Preparing the workspace and equipment:
- Choose a clean, well-ventilated space to keep out dust and moisture.
- Protect surrounding surfaces and objects from paint with film and masking tape.
- Protect yourself with a respirator, safety glasses and protective clothing.
- Preparing the car:
- Remove every part that will not be painted: headlights, mirrors, door handles and plastic trim.
- Wash the car free of dirt and grease using automotive shampoo.
- Strip the old paint from the surface with sanding tools wherever necessary.
- Sanding and levelling:
- Use sandpaper of different grits to level the body surface and remove defects.
- Stop sanding once the surface is smooth and uniform.
- Priming:
- Apply automotive primer over the entire surface so the paint bonds well and the body is protected from corrosion.
- Masking and painting:
- Mask off every part of the car that should not be painted using masking tape and film.
- Use automotive paint matched to your car’s colour and apply it in even coats, following the manufacturer’s recommendations on film thickness and drying times.
- Several coats are usually needed, with light sanding and a quality check between them.
- Drying:
- Let the paint dry completely, following the instructions on the packaging and allowing for ambient conditions.
- Sanding and polishing:
- Once the paint has dried, sand it with fine-grit paper and then polish it to bring out the gloss and smoothness.
- Finishing and reassembly:
- Remove the masking materials and refit the parts you took off.
- Clean the finished surface of dust and debris.
A full respray is a complex, labour-intensive process, and in most cases it is best entrusted to professional automotive painters to ensure a high-quality result.