How Car Fender Painting Works
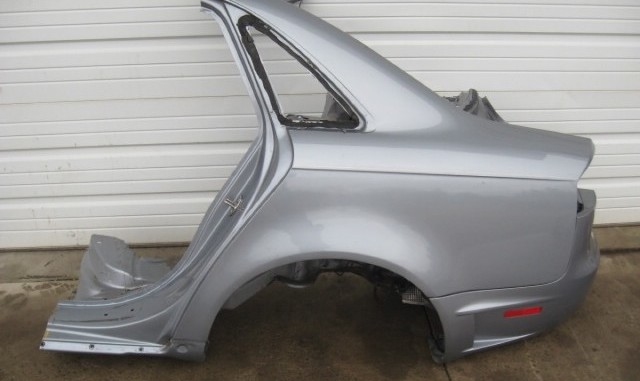
Fender painting is the process of applying a fresh coat of paint to a car’s fender to restore its appearance, fix damage or change the car’s color. It can be done either by professionals at a body shop or by home enthusiasts with a certain amount of experience and know-how.
Keep in mind that painting a car is a demanding job, and the quality of the result depends on many factors, including surface preparation, correct paint application and the use of proper equipment. A poorly done paint job can lead to an uneven finish, runs, bubbles, weak adhesion and rapid fading.
If you have no experience painting cars, it is best to go to a professional body shop. They have the knowledge, experience and tools needed to do a quality job. They can also match the paint color precisely so the result looks natural and blends in with the rest of the car.
When you take your car to professionals, the painting process usually includes the following steps:
- Preparation: First, the fender surface is thoroughly cleaned of dirt, grease, rust and old paint. Any damage, such as dents or scratches, can then be repaired.
- Sanding: The surface is sanded to create a smooth base that the new paint will bond to well.
- Masking: Parts of the car that are not being painted (such as windows or rubber seals) are carefully covered with masking tape or protective materials.
- Priming: A special primer is applied to ensure better paint adhesion to the surface.
- Painting: A new coat of paint is applied evenly to the prepared fender surface. This can be done using various methods, including airbrushing or spray guns.
- Finishing: Once the paint has been applied and has dried, the surface is polished and sealed with a protective coating for extra gloss and protection.
It is also worth bearing in mind that the cost of painting a car can vary considerably depending on where you have the work done, the extent of the damage and the type of paint used.