How Scratches Are Repaired and Painted
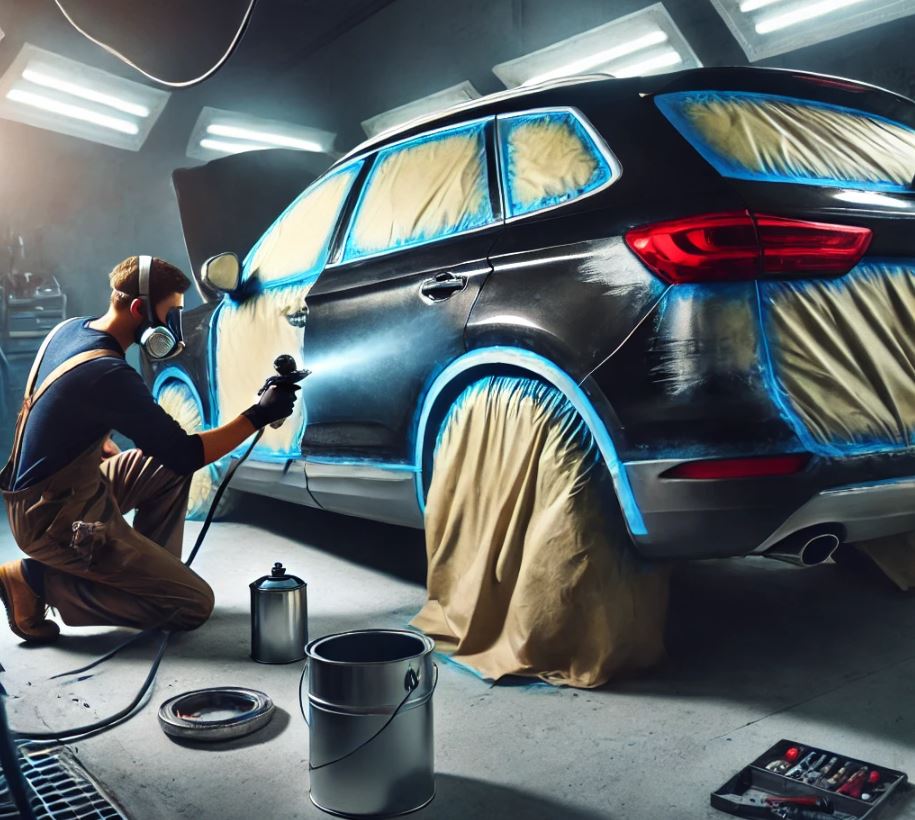
Repairing scratches on a car can be quite simple or fairly involved, depending on how deep and large the scratch is. Here is the general step-by-step plan for scratch repair:
- Preparing the scratched area:
o Wash the car to remove dirt and dust from the scratched surface.
o Use a soft cloth and car shampoo to clean any grease or other contaminants out of the scratch. - Judging the depth of the scratch:
o Run a finger across the scratch. If your fingernail does not catch in it, it is probably superficial and can be polished out. If the scratch is deep, it may need paint. - Polishing the scratch (for surface scratches):
o Use a dedicated polishing compound and a soft cloth.
o Polish the scratch carefully, checking the result as you go. Stop once the scratch disappears or becomes much less visible. - Preparing for paint (for deep scratches):
o Clean any rust or old paint out of the scratch with fine-grit sandpaper (P1200, for example).
o Clean the scratched surface of dust and debris. - Priming:
o Apply automotive primer to the scratched area so the new paint bonds well. - Painting:
o Use automotive paint matched to your car’s colour. Apply it in several thin coats, letting each coat dry before applying the next. - Sanding and polishing:
o Once the paint has dried, sand it first with a coarser grit and then with a finer grit to achieve a smooth surface.
o Finish by polishing to bring out the gloss. - Finishing:
o Clean the car of dust and debris.
o Apply a protective coating such as wax or sealant to shield the area from future damage.