How a Car Is Painted Matte
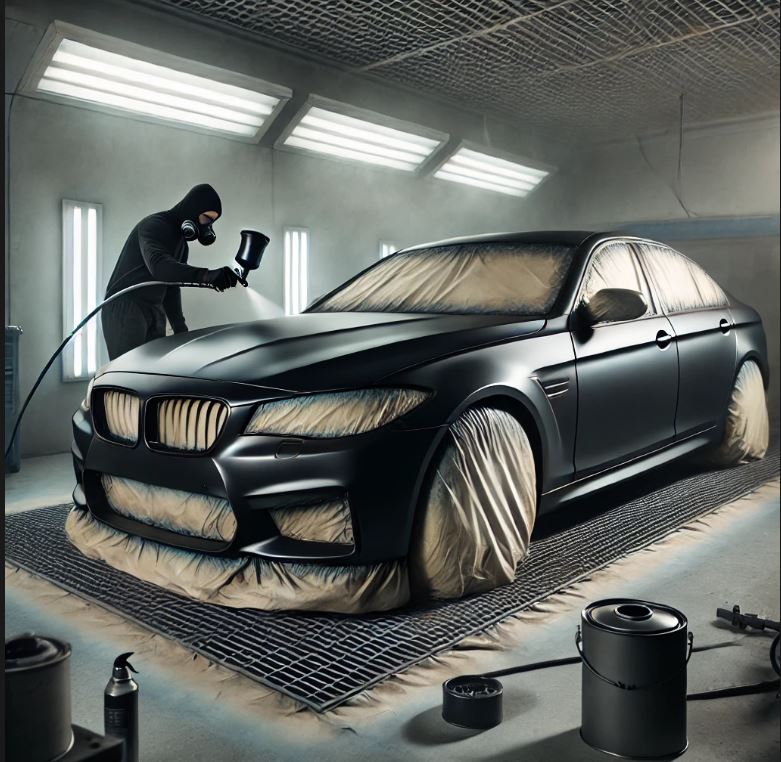
A matte paint job is a stylish, modern choice that gives a car a truly distinctive look. It also demands extra care and skill, because a matte finish is far less forgiving of poor preparation or technique than gloss. Here is the general step-by-step process for painting a car matte:
- Preparing the workspace and equipment:
- Choose a clean, well-ventilated space so that dust and particles do not settle in the paint.
- Protect the surrounding surfaces from overspray with masking film and tape.
- Make sure the lighting is good enough to reveal every defect on the car’s surface.
- Preparing the car:
- Remove every part that will not be painted matte: headlights, mirrors, door handles and trim.
- Clean the car’s surface of dirt, grease and old paint.
- Sand the surface to level it and give the new paint something to grip.
- Priming:
- Apply a dedicated matte primer over the entire car. Primer helps the matte paint bond properly and ensures even coverage.
- Masking and painting:
- Mask off every part of the car that should not be painted using masking tape and film.
- Use a dedicated matte paint in your chosen colour. Apply it evenly, following the manufacturer’s recommendations on the number of coats and drying times.
- Drying:
- Let the paint dry completely, following the instructions on the packaging and allowing for ambient conditions.
- Sanding and polishing:
- Once the paint has dried, sand it with fine-grit paper to remove any unevenness or defects, then polish to give the matte surface its natural sheen.
- Finishing and reassembly:
- Remove the masking materials and refit the parts you took off.
- Clean the finished surface of dust and debris.
A matte finish can look stunning, but it takes precision and skill. If you have no experience with automotive painting, it is best to leave the job to professionals to be sure of a quality result.